Tuna Roll Recipe
~~~
The perfect choice for someone who wants to try a raw fish for the 1st time
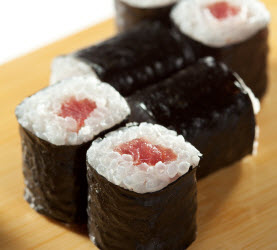
This tuna roll recipe makes one of my favorite types of sushi rolls. It is a very good roll for a person to try if they haven't had any type of raw fish or seafood yet, as tuna is a very mild, delicate and delicious meat.
To make this roll, you will have to make the sushi rice prior to assembling your roll and you will also have to obtain some sushi grade tuna also.
But other than that, assembling the rolls should go pretty quickly.
Tuna Roll Recipe ("Tekka Maki")
Ingredients
Sushi Rice (this will yield 4 cups of rice and this recipe 8 rolls)
(Try to buy a high quality Japanese short grain white rice if you can)
Sushi grade Tuna sliced into 3/8" matchsticks
imitation wasabi or real wasabi (optional)
Supplies
Preparation
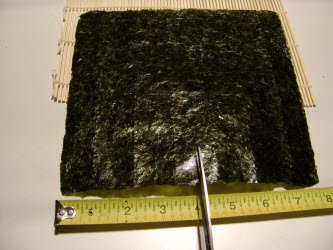
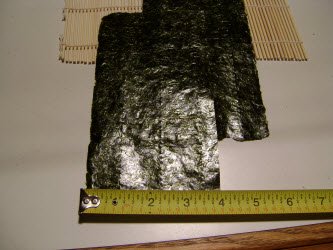
1. The Tuna roll recipe is made by taking a 8 x 7 inch sheet of Nori and cutting the sheet in half on the 8 inch side so that you end up with two 4 x 7 inch sheets. See pictures above. You can also fold over and break the nori sheet in half.
*** Beginner Tip ***
This slim tuna roll (hosomaki roll) can be one of the most difficult for beginners to roll without rice squeezing out from the seams. To make it a lot easier, cut your nori at 5x7 instead of 4x7 and leave a full 1" at the far edge when you spread out your rice.
This trick will help you make a perfect tuna roll everytime!
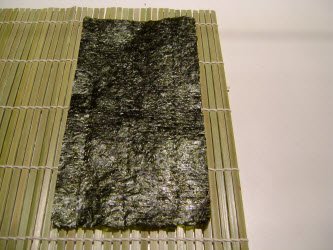
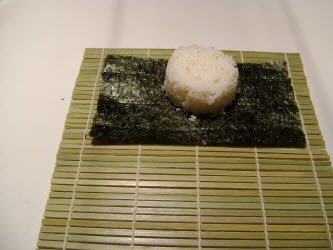
2. The sheet is then laid on a bamboo sushi mat, shiny side down, with the 7 inch side closest to you. Leave about 3 or 4 slats visible on the side nearest to you.
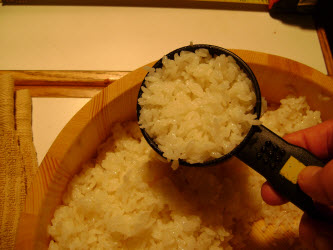
3. One of the best ways that I have found to make your tuna rolls a consistent size is by measuring your rice each time. Take your 1/2 cup measure and moisten the inside with vinegared water so that the rice will not stick. Shake out any excess. Then measure out 1/2 cup of rice and put it on your nori sheet. Refer to the pictures above.
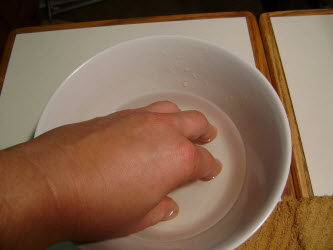
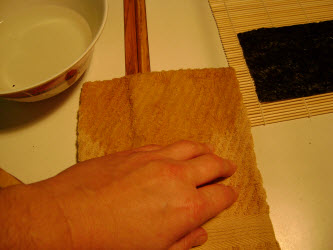
4. Dip your hands in vinegared water (1/4 cup rice vinegar + 1 cup water) and tap your fingers on a folded damp rung-out towel to remove any excess water.
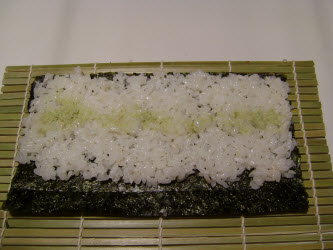
5. Spread the rice over the entire sheet coming to the edges on the right, left and closest to you but leaving about a 1/2" strip along the 7 inch side farthest away from you. The picture above is taken from the side farthest away from you so that you can see the 1/2" strip of nori used to seal the roll. If you need to leave 3/4" to make sealing a little easier that is ok too.
The rice will be very sticky, so moisten your fingers often. And also, it helps to push the rice from the center to the edges quickly and evenly.
6. If using wasabi or a condiment of some sort, spread it across the center of the rice. See pictures above.
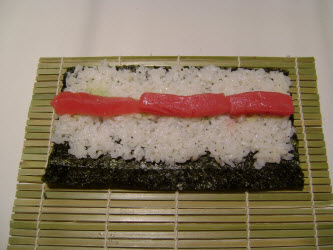
7. Spread a row of tuna across the center of the rice.
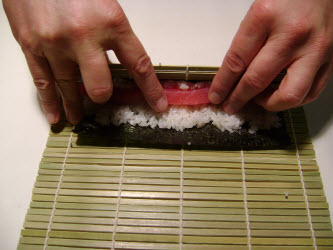
8. Lift the edge of the mat closest to you with both hands by putting your thumbs under the mat and while lifting up, use your fingers to hold the fillings in place.
9. Keep rolling, while pressing the fillings into the rice and stop when the mat touches straight down on the far edge of the rice. Make sure the exposed nori is still visible.
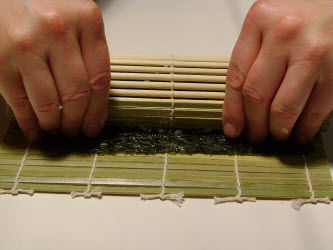
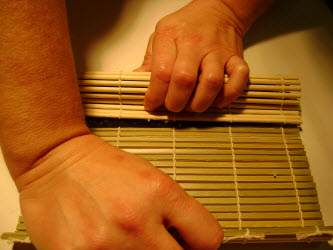
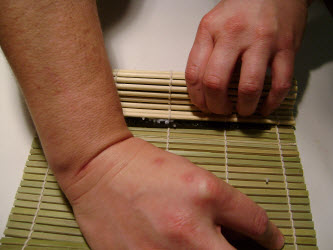
10. Tighten up this part of the roll by pulling the mat covered part of the roll with your left hand while also tugging 3 times on the free edge of the mat with your right hand; once in the center, once on the left and once on the right.
The pictures above showing tightening in the center and left side of the roll. You also need to do the right side. You should see more exposed nori now because you are "tightening" the roll.
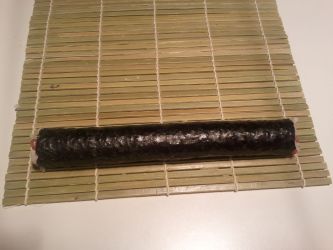
11. Now, continue to roll until the exposed part of the nori has been rolled under. Hold it still for a little bit to allow the roll to seal.
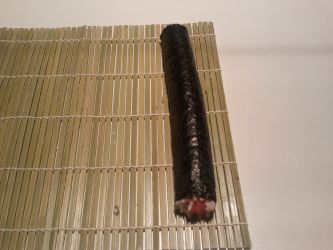
12. Wipe your sushi knife with the damp vinegared tea towel so that it won't stick to your roll when slicing. Slice it first exactly in the center. Wipe your sushi knife again with damp cloth. Then take the 2 halves, lay them side by side and slice again in the center creating 4 pieces. Do this again to create 8 pieces.
13. Slice into 8 pieces and serve.
And there you have it. The perfect tuna roll recipe!
Enjoy.
Like this Page?
|
|
Follow me on Pinterest





New! Comments
Have your say about what you just read! Leave me a comment in the box below.